Unity Terrain, Unity 3D, Change Unity Brush, adicione Brush in Unity, Unity 2017, Unity 2018, Change Terrain with Unity, Terrain Ramp Unity, Unity Ramp
Hi, this article is what we can create brushes for the terrain of Unity 3D. These brushes can be used to create reliefs and even paint certain parts.
First we need an image at 64X64 px resolution, this image should be in PNG format and may contain alpha channel parts.
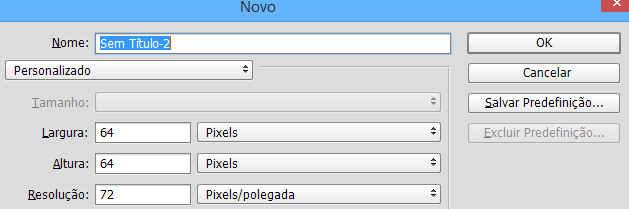
Picture 1: Set project resolution
For this example, I created a gradient image using Photoshop.
Picture 3: Gradient image
Now comes an important part, inside the Assets folder in your project, you need to create a folder with the name Gizmos. Example: D:\Unity\Assets\Gizmos.
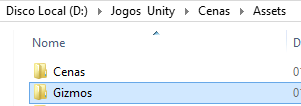
Picture 3: Gizmos folder
Save the created brush inside the Gzimos folder, named brush_X, where X is the variation of the brush. Example: brush_0, brush_1, brush_2...and so on for each brush.
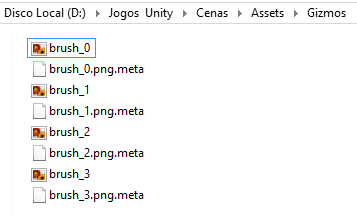
Picture 4: Brushes in folder
If you followed the previous steps, now just run Unity. If you have it open, you need to close and reopen so that the Brushes are imported. If everything went well, you can see them in the Terrain component.
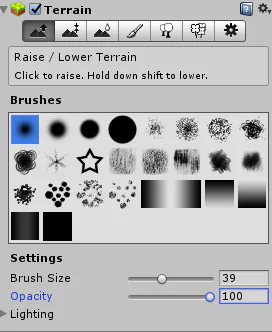
Picture 5: New Unity 3D brush
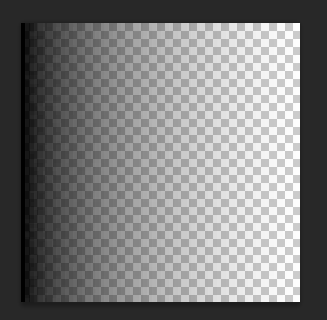
Have fun personalizing your terrain in a variety of ways. In the image below you can see a slope generated by the brush gradient.
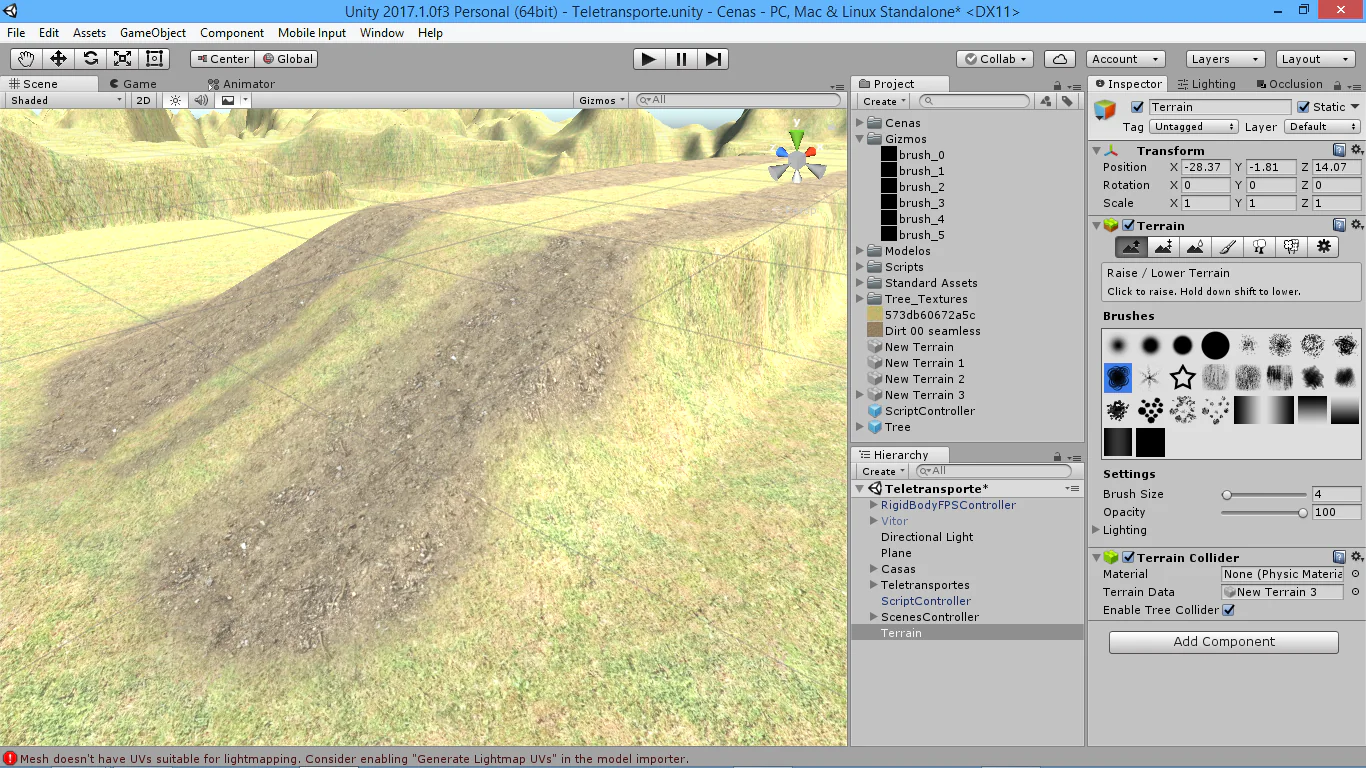
Picture 6: Ramp created with the brush gradient.
I hope that you enjoyed. See you in next time.